Spring DIY: changing the oil on a sailboat
Have you ever done a DIY oil change on sailboat engine? As sailors, we sometimes like to pretend that our engines don’t exist. But whether we like it or not, they are often a crucial part of what we do, particularly on the Bay. Regular maintenance, especially oil changes, are essential to making sure our engines are the fail-safe that we expect them to be. Oil should be changed approximately every 100 hours; although some opt for every 50, while others extend it to 200. Oil should also be changed during spring commissioning if it wasn’t changed in the fall before winterizing. Changing your own oil may seem daunting, but it only takes a few tools and a few steps and will save you a lot of money in labor.

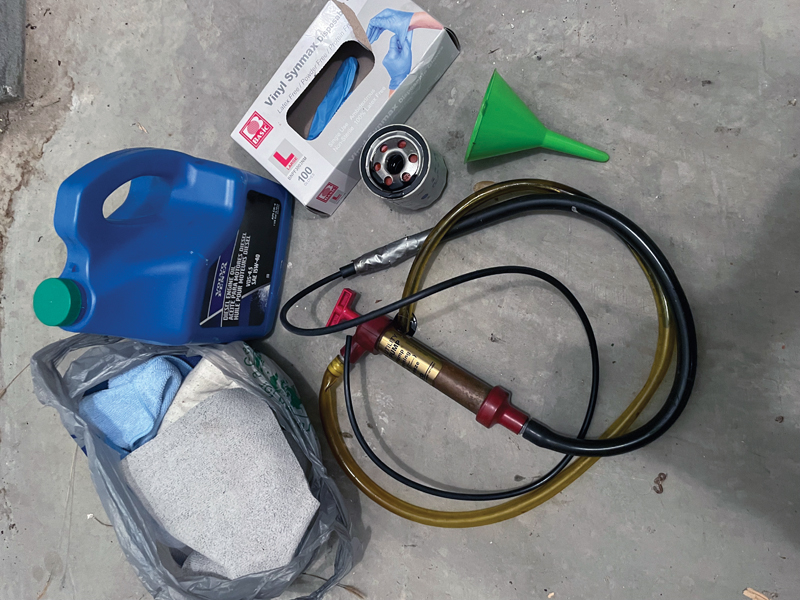
What You’ll Need
- An oil tray or other container for the used oil (aluminum roasting pan, gallon jugs, etc)
- A socket wrench to open your oil pan or a pump and fittings for the dipstick
- Oil absorbing pads and rags
- Disposable gloves
- Trash bag
- Strap wrench or very
- large pliers
- New oil
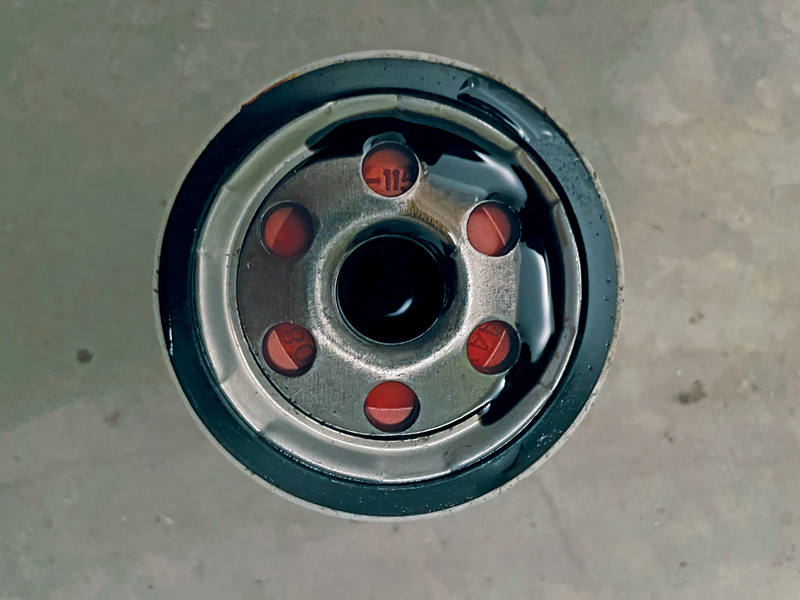
- New oil filter
- Funnel
Step One: Consult Your Manual
Find your engine’s manual or use the model number to access an online version. Your manual will tell you exactly what oil you need and how much as well as what oil filter you need. Oil and filters can be found at marine supply stores and, depending on what exactly you need, at auto parts stores.
Step Two: Run the Engine
For the old oil to drain out easily, the oil should be hot. More importantly, running the engine will allow all of the gunk that you’re trying to remove to disperse back into the old oil, instead of remaining settled on the bottom and stuck inside the engine. Five minutes at idle is probably enough—it doesn’t need to be at full temperature, just warm.
Step Three: Drain the Old Oil
Ideally the oil pan, located at the very bottom of the engine, will be accessible. There should be a bolt at the lowest point in the pan. Position your oil tray underneath the oil pan, accounting for the fact that it may not stream out directly downward. Place oil absorbing pads around the tray to catch splash. Remove the bolt on the bottom of the pan using your socket wrench, and allow it all to drain out.
If the oil pan is not accessible, doesn’t have a drain, or there is not enough room underneath the engine to fit a tray, you may have to pump the oil out of the dipstick tube. If your dipstick tube is threaded, you may be able to find a fitting for it. If not, you will need a pump with a hose that extends all the way down the dipstick tube to the bottom of the oil pan. Marine supply stores sell a variety of manual and electric pumps that can achieve this. When selecting a pump, keep in mind that it will need to handle hot oil and that diesel engine oil is often heavier than gasoline engine oil, requiring a stronger pump. In my experience, the hand pumps always work, although they can be a bit of a workout.
If pumping through the dipstick tube, remove the dipstick, attach or insert your pump, and pump the oil out into a bucket, jug, or other container. When it starts to run dry, reposition the hose running from the pump into the engine and try again, repeating until it seems like all of the oil has been removed. You can use your manual, which tells you how much oil should be in the engine, to gauge when you’re done.

Step Four: Replace the Oil Filter
If you can’t find the oil filter on your engine, consult your manual. The oil filter and secondary fuel filter may look very similar, so make sure you’ve found the correct one. Use your strap wrench or large pliers to remove it and remember that it will still be partially full of oil, so tip it upright as soon as possible. Have a container and oil absorbing pads ready, especially if it is attached to the engine upside down or horizontally.
To install the new filter, pour some of your new oil into it (as long as it won’t spill out while installing) and use your fingers to rub some new oil onto the gasket. This will improve the seal. Screw the new filter on until the gasket makes full contact, and add another three-quarter turn. It doesn’t need to be overly tight.
Step Five: Pour in the New Oil
If you drained your oil from the pan, make sure you put the bolt back. If you drained it from the dipstick tube, put the dipstick back. Somewhere on top of the engine should be a cap, ideally with an identifying symbol on it, where the new oil should be poured in. Open this cap and use your funnel to pour in the amount recommended by your engine’s manufacturer. Go slowly and check the dipstick frequently. It’s better to take a few extra minutes to double-check than to overfill it and have to drain some of your new oil. When you’re done, put the cap back, run the engine for a few minutes, and check the dipstick again, adding more oil if necessary.
A Note on Oil Disposal
If you drained your oil into a tray or other open container, transfer it into a container that can be closed and transported. The now-empty jug from your new oil is a great option. Bring your old oil to a facility that can properly dispose of it—many auto parts stores can do this, or your marina may have their own disposal program. Just make sure it doesn’t go in the trash!
A Note on Outboards
Changing the oil in an outboard motor follows the same steps. The only difference is that you’ll likely have to remove coverings to access the drain, filter, dipstick, and entry point for the new oil. This should also be done on land to prevent spillage, meaning you’ll need muffs or a large bucket of water to ensure that the engine is properly cooled while running.
by Kelsey Bonham
About the Author: Kelsey Bonham is a based in Norfolk, VA, where she keeps her 50-year-old, 30-foot steel boat, Little Wing, which she restored with her dad during the pandemic.
Kelsey explains how to change your sailboat engine's fuel filter.


