Her sailboat needed a clean-out port.

A clean-out port is a tricky installation
Before I dive into her project, a few quick words: Diesel is flammable, despite all those stories you’ve heard of how difficult it is to get it to burn. If you have any doubts at all about the safety of your undertaking or how to execute any part of a clean-out port installation, do not hesitate to engage a qualified contractor. Catching your boat on fire is not what you want to do yourself. A clean-out port is a tricky installation. Use this article as a source of ideas, and do in-depth technical and safety research before beginning. The tank needs to have been drained and flushed of its fuel and the work area well ventilated. Check with a local welding or Tractor Supply shop for argon or a similar product to help flush the tank of its volatile gasses before doing any drilling.
Neither time nor environment will be kind to your diesel fuel, and even the best constructed systems can leave you suffering. The tiniest bits of water or dirt can begin a reaction within your fuel supply that will leave you battling sludge, biological growth, and a petroleum residual called asphaltene—just like the asphalt used to pave roads. This can accumulate on a tank’s inner surfaces and cause clogged filters at best and fouled injectors at worst. A clean-out port allows access to the tank’s interior large enough for you to access, scrape, and clean the tank’s interior surfaces.
Properly locating your installation is important, as access to the port is paramount. Installation on the top of a tank may offer the best access and the lowest risk of leaks, but some tanks are situated such that a side installation may be the only option. If installed on the side of a tank, ports would ideally go into each baffled section (often three sections separated by two baffles), but these baffles will also impede your access to the tank’s interior as you create the opening.

Inspecting the tank's interior
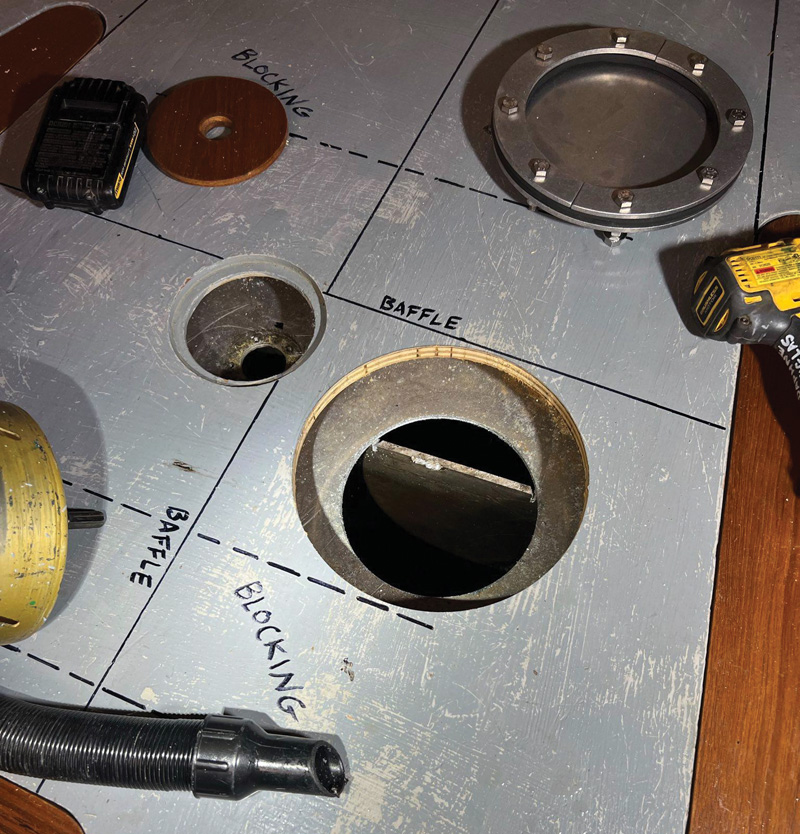
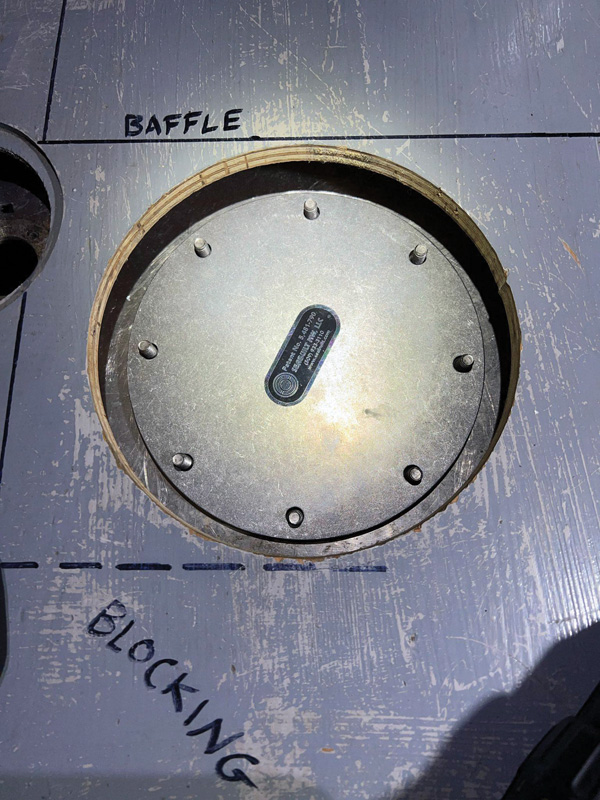
Daphne’s first step was to inspect the tank’s interior with a borescope. It wasn’t hard to see the build-up and muck that coated the interior of her tank. She located the schematics for her vessel’s tank, and with a Sharpie drew the estimated location of the baffles onto her tank’s shell. She was installing an eight-inch Seabuilt access plate system, available for around $300. Be sure the port you purchase is the same metal as your tank, and that it has a heavy-duty gasket designed for diesel fuel.
Port installation
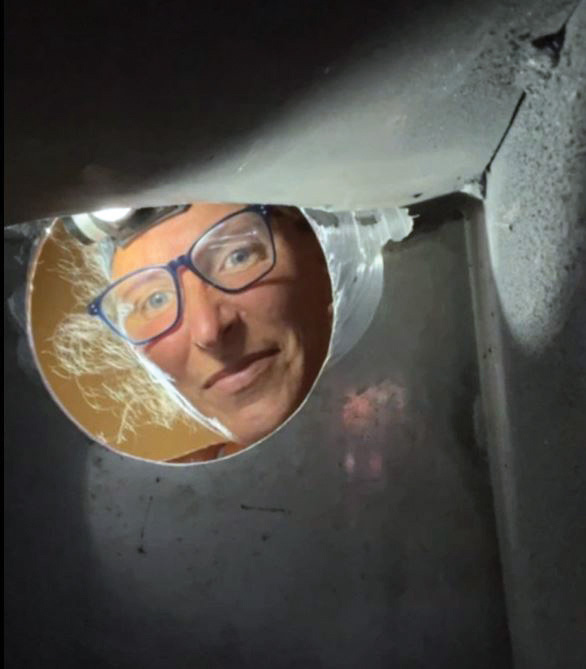
No DIY project is without its hiccups. After drilling the opening for the port, Daphne discovered that she had inadvertently drilled right into a baffle. That little mishap turned out to be a blessing in disguise as she was eventually left with even better access to the tank’s interior. With the opening port drilled, she painstakingly ground away at the baffle until there was sufficient room for the port installation.

Clean the tank's interior
After successfully installing the port, it is time to clean the tank’s interior. Plastic scrapers are good for clearing away sediment and build up, and diesel or kerosene are both good solvents to aid in scrubbing tank surfaces that have been scraped. Continue scraping and scrubbing until the tank is clean and several flushes of diesel come out perfectly clean. Wipe the tank’s interior surfaces with a lint-free rag, available at any auto parts store.
Managing your diesel tank
Managing your diesel tank is complex. Adding biocide to your fuel helps to keep algae and other biological growth at bay. Maintaining fill ports helps to avoid water ingress into your fuel system. An easily accessible filter system helps you to monitor your fuel’s health. And the addition of an access port allows you to schedule regular inspections and cleanings.
Smooth sailing—well, motoring—awaits. You can keep your engine purring like a contented kitten by knowing, not guessing, the state of affairs inside your fuel tanks.

What Daphne Learned
- A borescope or endoscope helps to assess tank condition before beginning the job.
- Don't fully trust plan or schematics of your tank's interior.
- Safety first! Be sure your tank is fully flushed of diesel and fumes before beginning.
- Think carefully about the port's location. Once you start, you are committed.
- When in doubt, call in expert help.
by John Herlig
About the Author: John Herlig lives aboard his 1967 Rawson cutter Ave del Mar and teaches at Cruisers University. Find him on Instagram @sailing-ave.
Find more sailing-related how-to articles here.
Whether you race your boat or not, you are a sailor. That’s good. Because at Harken, we make products for sailors. A big part of what we love about this sport is the self-reliance it demands and finds within us. That’s why we’re sponsoring this DIY/skills-building section.
PS: If you find there’s a little too much “Y” in your DIY project, call (262) 701-5747. Jim and team will put the “us” back in DIY.


