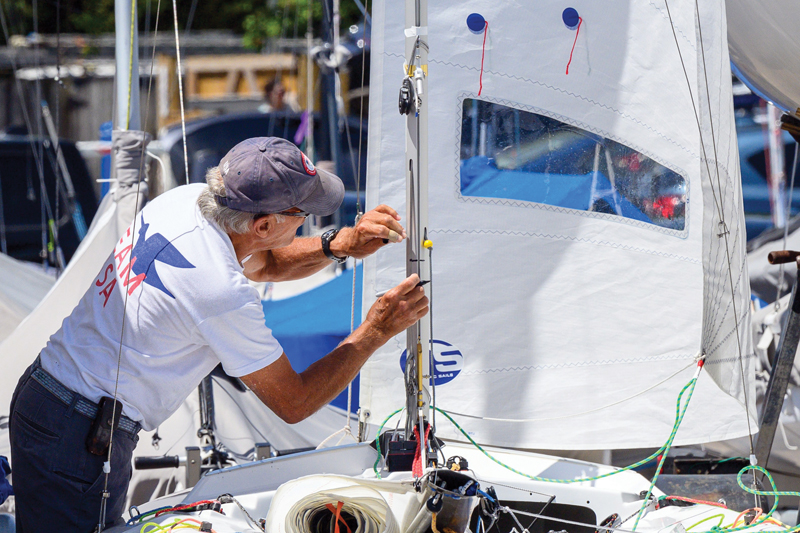
Dinghy racers, it's time to mark your settings.
If you don’t know where you are, it’s hard to figure out where you’re going. Certainly this is true in the big picture of dinghy racing: you need to be aware of where you are on the racecourse as you make strategic and tactical decisions.

But it’s also true on a much smaller scale, often just within arms’ reach. Knowing where your control lines are set can make adjusting them to where they need to be happen a lot faster (and use a lot less brain power).
Knowing where to pull the jib halyard to as you round the leeward mark, or where your standard upwind outhaul setting is, or where your medium-air spinnaker-pole height is so you can have it pre-set can be game-changers. A simple Sharpie marker can go a long way toward making your adjustments easier. And easy is fast!
We’re near or at the end of the traditional dinghy racing season here on the Bay. If you’re not already onboard with marking your lines, now’s the time to digest everything you’ve been learning this summer and get it down, literally, in pen. Here are some tips to help you make your settings more of a known quantity.
All the options.
Small boats just don’t have that many lines. Think through all of them and consider whether there’s a way you could make a quick mark or to help you get things “in range” in the midst of mark rounding chaos. Why not?!? Mark where full hoist on your halyards is with a simple mark on your mast where something (possibly another mark, or the top of a block or other hardware) goes. Control lines often need a mark on the line itself and a mark on the deck to line up.
It’s your system.
Different people have different wants and needs. I’ve seen boats with no marks (not ideal) and boats with seven different halyard hoist settings, each in a different color (likely excessive). But it’s up to you—use as many marks (and colors!) as you want. I would strongly encourage you to include at least one mark as a reference point for each halyard and control line. In general, I go with three: One to mark the “this is usually where it goes” base and two boundary marks indicating where the tightest and loosest settings are.
Technicalities.
Dark Sharpie marks stick around longer. I was bummed to learn that the super fun purple and pink Sharpie inks fade much faster in sunlight than the classic black (oh well). Acetone is your friend. If you make a mistake or want to change your mark location, a little acetone (or fingernail polish remover) works in a jif. If you’re super shy about writing on your boat, you can always first put down electrical tape and make your mark on the tape.
Other options.
Sometimes you might want more than just a mark. For example, on my ILCA6, I generally want to blow my cunningham all the way off at every weather mark rounding. But I definitely don’t want the cunningham control line to be able to work its way out of the cleat and/or blocks. Easy solution: I tie a slip knot so that it will stop at the maximum ease I’d ever want it to have during a race. Same thing for my outhaul control line. Then, if I’m in a pinch, rather than easing it off to a specific spot, I can just “blow it” and it will be in range. I can adjust it once I’m a few boat lengths from the mark.
So, get out your permanent markers and enjoy an “arts and crafts” work session. After all, using reference points is way better than guessing!
by Kim Couranz
About the Author: Kim Couranz has earned several national and world titles in Laser Radials (ILCA 6), Snipes, and Lightnings. She has also raced J/22s, J/24s, and Ynglings on an international level.


