*Sponsored content provided by Sailrite
Do you inspect your sails for the next sailing season? If not, you definitely should be. It's important to catch any small holes and fix them before they become a bigger problem down the road. Or even if you are still on the water and spot a hole or tear in your sail, fixing it immediately before it grows is key. Our quick how-to video will show you how to inspect your sails, find any holes or rips, and sew a patch on your sail so you can sail with peace of mind.
Patching holes and tears in your sail is an easy and quick way to get back on the water. You don't have to sew a completely new sail if the hole can be fixed with a patch. Save yourself the time and expense of replacing your sail with our tutorial. Sailrite® has all the supplies needed for this quick DIY project.
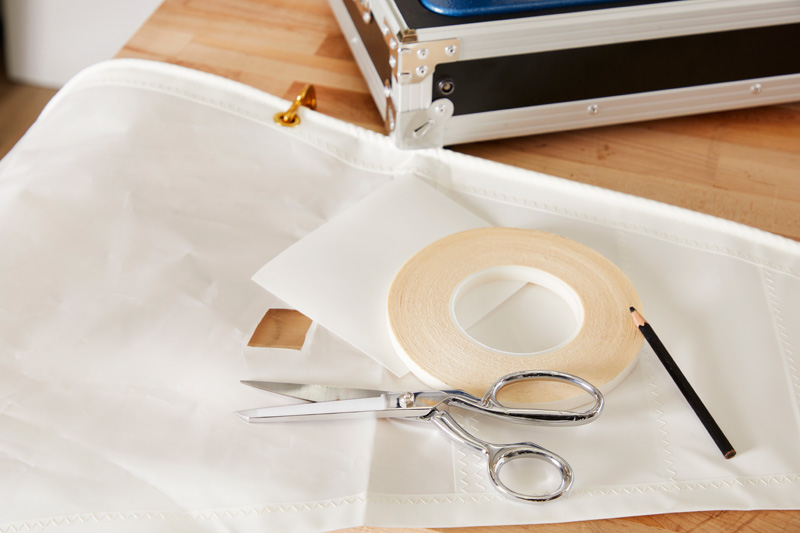
First, you'll want to create a patch at least 1 inch larger all around than the hole or tear. You need this extra space for sewing the patch onto the existing sail. You'll baste the patch in place using Seamstick Basting Tape, which Sailrite stocks in huge quantities. We recommend basting tape as a sewing aid in almost all of our DIYs. It's a truly invaluable sewing notion you'll reach for again and again in all of your sewing projects. Once the patch is basted in place, sew around the perimeter of the patch with a zigzag stitch.

If your boat needs more than just a sail patch, be sure to check out Sailrite's entire inventory of marine how-tos. We have videos on sail repair, canvaswork, marine upholstery and more. Is your sail beyond repair? We have hundreds of Sail Kits with the materials and instructions you need to sew your own sail from start to finish!


